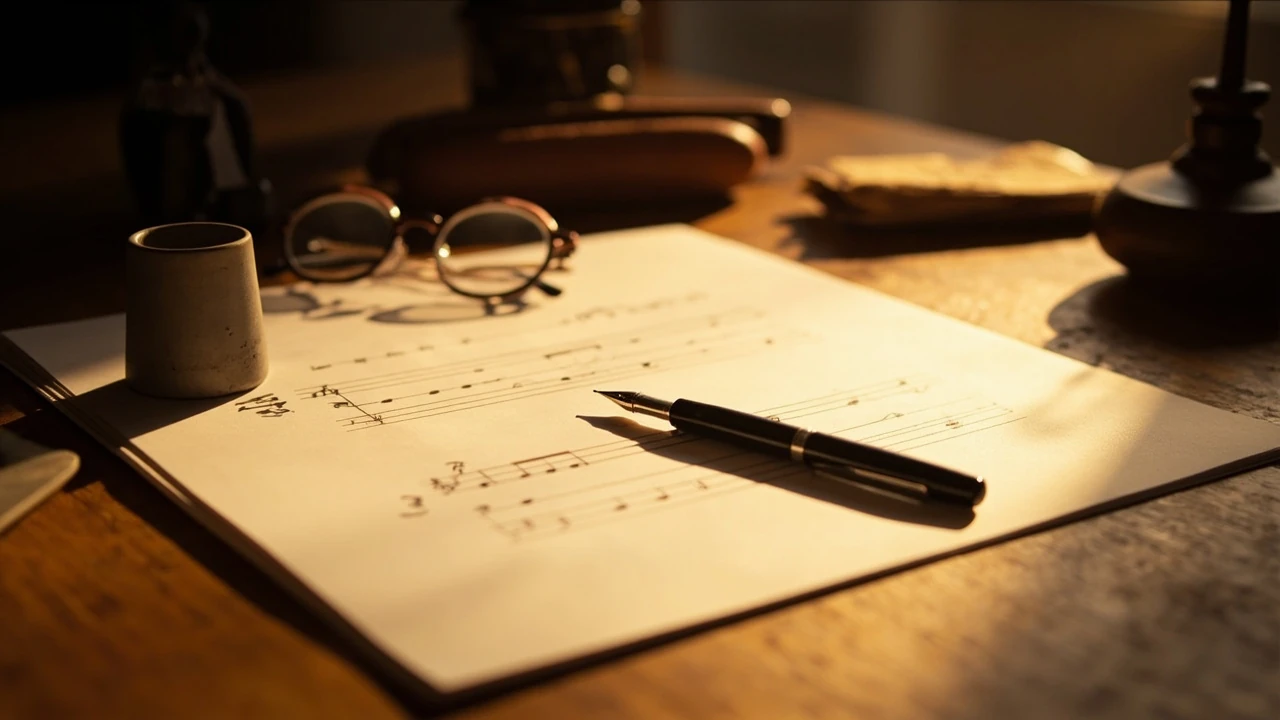
A first attempt at music drawing usually begins with the same quiet frustration. You sit at a desk with a blank page, the staves already ruled, and you realize that the small black symbols on a music sheet are not decoration; they are a working language that tells a performer how to translate a written line into a duration, a pitch, a dynamic, and a feeling. The phrase “music drawing” covers that whole process: deciding which symbols belong on the page, in what order, and at what spacing, so that the result can actually be read and played.
People who search for music drawing usually want one of three things: a clear definition of what the term means, a starting point for learning to notate their own ideas, or a way to introduce notation to students. The rest of this article addresses each of those readers in turn, with the practical mechanics of putting sound on paper.
Music drawing: what the term actually means
Music drawing is the act of writing musical notation on paper or in a notation program. The word “drawing” is useful because it captures the manual, visual side of the task. A composer does not only choose pitches and rhythms; the engraver or copyist also decides how those choices sit on the page, how the beams connect, how the slurs curve, and how much white space surrounds each system. The same piece can look cramped in one hand and breathe in another, and that visual quality is part of the music drawing.
Historically, the term is close to what the profession used to call music engraving. Engraving is the older craft, done by hand on copper plates in the days of Bach and Beethoven, and the word still survives in software like Finale and Dorico, which carry an “engraving mode.” Music drawing, in modern usage, simply expands that idea to include handwritten notation, classroom worksheets, and the work done inside notation software. The aim is the same: a clean, readable page that communicates musical information without ambiguity.
Why people still draw music by hand
Notation software has become powerful, but hand-drawn music is still common. Students learn notation by writing it. Composers sketch ideas away from a screen. Theorists draw chord charts and rhythm trees on whiteboards. Church musicians copy out parts that need to be distributed to small ensembles. In each case, the speed of a pencil matters more than the polish of a final engraving.
Hand drawing also forces a clearer mental model. Typing a note into a software program can become a mechanical action, especially when the program adds stems and beams for you. Writing a half note by hand, then drawing a stem, then deciding where the beam crosses, makes the rhythmic structure visible. That visibility is the reason many teachers still ask beginning students to do their first month of notation exercises with a pencil on manuscript paper.
The basic toolkit for music drawing
The physical kit for music drawing is short and inexpensive. A good start includes:
- Manuscript paper with at least 10 to 12 staves per page, printed in light gray so the rules do not fight the ink.
- An HB or H pencil for layout marks, titles, and bar numbers.
- A 0.5 mm or 0.7 mm mechanical pencil for note heads and stems, since a consistent line weight keeps the page looking clean.
- A good eraser, preferably a soft vinyl type that does not smudge.
- A ruler, used to keep stems vertical and to align barlines.
- A small stencil with common symbols (treble, bass, alto clef, time signatures, common dynamics) for fast, even work.
- A black fineliner (0.3 to 0.5 mm) for the final pass, if the draft will be shared or performed from.
For digital work, the kit changes but the principles do not. A notation program such as MuseScore, Dorico, or Sibelius replaces the manuscript paper; a graphics tablet replaces the pencil. Even on a screen, the same layout decisions still matter: stem direction, beam angles, spacing between accidentals, and the balance of white space.
The core symbols you need to know
Music drawing is built from a small set of symbol families. Before you draw your first phrase, learn to recognize and reproduce these groups.
| Symbol family | What it controls | Examples | Placement rule |
|---|---|---|---|
| Clefs | Pitch reference for the staff | Treble, bass, alto, tenor | Drawn at the start of each line; center the clef on the appropriate line |
| Note heads and stems | Pitch and duration | Whole, half, quarter, eighth, sixteenth | Stems up on the left of the staff, down on the right, based on the middle line |
| Rests | Silent durations | Whole, half, quarter, eighth, sixteenth rest | Centered in the middle of the staff; whole rests hang from the fourth line |
| Accidentals | Local pitch alteration | Sharp, flat, natural, double sharp, double flat | Placed directly to the left of the affected note, on the same line or space |
| Time and key signatures | Metric and tonal context | 4/4, 3/8, two sharps, three flats | Placed after the clef, before the first barline; key signature carries through the system |
| Dynamics and articulations | Volume and attack | p, mf, f, staccato, accent, fermata | Placed below the staff (dynamics) or above/below the note (articulations) |
Memorizing the table is less important than practicing the placement. The same note can look very different depending on whether its accidental is aligned, whether its stem clears the staff lines, and whether the barline lands on the same vertical axis as the rest of the system. Those small details are what separate a draft from a finished music drawing.
Music drawing compared with related terms
Several terms overlap with music drawing, and choosing the right one matters when you are looking for tutorials or software.
| Term | Scope | Typical user | Output style |
|---|---|---|---|
| Music drawing | Hand or screen notation of any kind | Students, teachers, hobbyists | Drafts, worksheets, sketches, finished parts |
| Music engraving | High-quality music typesetting | Publishers, professional copyists, advanced composers | Publication-grade scores and parts |
| Music calligraphy | Decorative hand-drawn notation, often historical styles | Calligraphers, historical-performance enthusiasts | Artistic pages, facsimiles, gift scores |
| Music notation | The system of symbols itself, not the act of writing | Researchers, students reading about music | Theory and history discussions |
| Music transcription | Writing down what you hear | Arrangers, students, musicologists | Lead sheets, full scores from recordings |
Music drawing sits at the practical end of that list. It is the everyday activity, not the polished result. A well-drawn page may be re-engraved later, but the act of drawing is what gets the music out of the head and onto paper.
How to plan a page before you draw
Good music drawing starts before the pencil touches the staff. A short planning pass prevents a lot of erasing.
- Choose the clef and the key. These two decisions shape almost everything else. A piece in A major for violin will look completely different from a piece in D minor for cello, even if the rhythms are identical.
- Decide the time signature and the approximate length. If the piece runs about 32 bars, you can plan how many bars fit on each system, and how many systems fit on the page.
- Sketch the rhythmic spine. Draw the barlines and a simple rhythm in each bar using placeholder note heads. This step exposes where the tricky rhythms will sit and how the beaming will work.
- Place the pitches on the rhythmic spine. Now fill in the real note heads, choosing stem direction as you go.
- Add dynamics, articulations, and expression marks last. They are easy to fit in once the notes are in place, and adding them too early crowds the page.
That sequence is roughly how professional copyists work, and it scales from a one-page exercise to a full orchestral part. The page looks calmer because every symbol has a deliberate place.
Common mistakes in beginner music drawing
Most beginner pages share the same handful of problems. None of them are hard to fix once you see them.
- Uneven note heads. A freehand note head should be a small, filled oval tilted about 25 degrees, not a circle. Practice drawing the same oval five or six times before filling a system.
- Stems that drift off the vertical. A stem that leans even slightly makes a system look nervous. Use a ruler or the edge of the manuscript paper as a guide until the eye is trained.
- Beams that sit at the wrong angle. Beams in a single beat group should follow the contour of the notes, but in 4/4 and similar meters, opposing beams between beats should be avoided when possible. Keep beams parallel within a beat.
- Accidentals floating away from the note. A sharp, flat, or natural belongs touching the note head, on the correct line or space. If there is visible space between the accidental and the note, the page looks unfinished.
- Cramped final bars. A common beginner habit is to cram the last bar of a system into a small space. It is better to rewrite the system, change the line break, or shift a bar forward than to squash a rhythm into half its width.
Each of those problems is mechanical, not musical. The music underneath may be excellent, but a reader will hesitate when the symbols are not clear, and hesitation in performance is a problem in itself.
Music drawing on the screen
Working in a notation program changes the workflow but keeps the same goals. In MuseScore, Dorico, or Sibelius, the software handles the engraving rules in the background, so the user’s job shifts toward input speed and layout choices. Three habits transfer well from paper to screen.
- Enter rhythm first, then pitch. Most programs have a step-input or quick-input mode that lets you set the durations before choosing the notes. This avoids the trap of clicking the wrong pitch and having to delete.
- Use system breaks and frame breaks deliberately. The default layout in a notation program is rarely the best one. Moving a system break to a sensible musical point, such as a phrase ending or a tempo change, makes the score easier to read at the stand.
- Check the parts, not just the score. Many readability problems only show up in the individual instrumental parts. A line that looks comfortable in the full score may be unreadable when extracted for a single player. A useful habit is to print or preview every part before considering the music drawing finished.
For more about how notation programs interact with traditional ideas of layout, the article on organ registration as a practical guide to shaping pipe organ sound offers a useful parallel: registration is a layer of decisions that sits on top of the written music, and so is the final layout of a score.
Music drawing as a teaching tool
Music drawing has a long history in the classroom, and it remains one of the most effective ways to teach rhythm, dictation, and inner hearing. Drawing a rhythm that the teacher has clapped out forces the student to map what they heard onto a precise visual symbol. Drawing a melody that the teacher has sung forces the student to think about stepwise motion, leaps, and the contour of a line.
For younger students, music drawing can be paired with color. Some teachers color the strong beats, others use red for notes that move by step and blue for notes that leap. The colors are not part of the notation; they are scaffolding. Once the student is reliable on the page, the color drops away. The visual habit remains.
For older students, music drawing can move into analysis. Asking a student to copy a two-bar phrase by hand from a printed score forces them to look at every beam, every accidental, and every dynamic. Many details that pass unnoticed at sight become obvious at the pencil.
Music drawing for composers and arrangers
Composers usually move through three layers of music drawing: sketch, short score, and full score. Each layer has its own standard.
- Sketch: a rough manuscript, often in one or two staves, with quick note heads, missing stems, and unclear beaming. Its job is to capture the idea.
- Short score: a cleaner version that fits on a few staves, usually two or three. It is the working draft for the arrangement and the place where most of the editing happens.
- Full score: the final version, written or engraved to publication standard, with every instrument on its own staff and every detail correct.
Most of the time spent on a piece happens in the short score. A useful rule is to keep the sketch loose and the short score tight. A page that is messy at the sketch stage is fine; a page that is messy at the short score stage will slow every decision that follows.
How music drawing connects to organ and other notated traditions
The same notational system serves most Western instruments, including the pipe organ. On an organ score, music drawing has to manage three keyboards, a pedal line, and often a choir of stops. The result is one of the densest notational environments a writer can face. For background on how the symbols the drawer writes translate into the sound a builder shapes, the guide on organ stops explained: families, ranks, and how to read a stop list is a useful companion read. It maps the symbols on the page to the families of pipes that respond to them.
For an even more practical view, the article on pipe voicing: how organ builders shape tone one pipe at a time shows the other side of the process: how a builder draws out the sound that a composer has already drawn on paper. The two crafts, music drawing and pipe voicing, are different in their tools but close in their attention to detail.
A short practice routine for better music drawing
Like any manual skill, music drawing improves with short, focused practice. A 15-minute daily routine is more effective than a once-a-week three-hour session.
- Five minutes of staff and clef warm-up. Draw five staves and place a treble clef, a bass clef, and a time signature on each. The aim is consistency, not speed.
- Five minutes of rhythm-only writing. Take a short four-bar rhythm in 4/4 and notate it with a mix of quarter, eighth, and sixteenth notes. Pay attention to the beams.
- Five minutes of full notation. Take a four-bar melody in a chosen key and notate it cleanly, including at least one dynamic and one articulation.
After two or three weeks, the page will start to look uniform. The stems will be vertical, the note heads will be even, and the spacing will be predictable. That uniformity is what readers, including performers, actually need.
Software options worth knowing about
Choosing notation software is a separate topic, but a quick map helps. Free options such as MuseScore cover most of what a student or hobbyist needs. Paid options such as Dorico, Sibelius, and Finale offer stronger engraving control and better handling of large scores. For very small jobs, a simple tablature editor or a chord-chart app can be enough. The important point is that the program should not get in the way of the music drawing; the decisions about stems, beams, and spacing should follow the music, not the menu structure.
Reading what other people have drawn
An underrated part of music drawing is reading other people’s pages. Looking at a clean published score and asking why each system break sits where it does, why the composer chose stem-up for one line and stem-down for another, and why a particular dynamic is placed above rather than below the staff is a fast way to improve your own pages. A good target for study is any edition of Bach’s two-part inventions or the simple songs of Schubert: short enough to read in a sitting, clean enough to copy in an afternoon.
For a more structured look at how notation choices shape performance, the Wikipedia entry on musical notation is a useful orientation. It covers the history of the symbols and the conventions that most printed music follows today.
For a more practical reference on how the symbols on a page interact with the sounds an instrument makes, the Berklee Press guide on music notation basics is a clear, well-illustrated starting point that translates the same principles covered above into a teaching format.
Frequently asked questions
What is music drawing in simple terms?
Music drawing is the act of writing musical notation by hand or in a notation program. It covers every choice that puts a symbol on the page, from the shape of a note head to the placement of a dynamic, with the goal of producing a page that a performer can read clearly.
Is music drawing the same as music engraving?
Music engraving is the high-quality, publication-grade end of music drawing. Engravers aim for pages that meet the standard of a printed score from a major publisher. Music drawing, in everyday use, is a broader term that includes drafts, exercises, classroom worksheets, and digital notation, not only finished engraved scores.
Do I need to know music theory before I start music drawing?
You need a working knowledge of pitch, rhythm, and the symbols on the staff. Music drawing does not require harmony, counterpoint, or form, but it does require that you can read the symbols you are writing. A few months of beginner notation is usually enough to start drawing simple melodies on your own.
Can I do music drawing on a tablet or laptop?
Yes. Most modern notation software runs on Windows, macOS, and Linux, and several apps run on tablets. A graphics tablet with a pressure-sensitive pen is a good substitute for a pencil, and most notation programs include an input mode that works well with a mouse and keyboard.
What paper is best for handwritten music drawing?
Use manuscript paper with light gray or light blue staves, 10 to 12 staves per page, and a small margin on the left. Avoid paper with heavy black staves, since the rules will show through faint pencil lines and clutter the page.
How long does it take to become good at music drawing?
With daily practice of 15 to 30 minutes, most beginners produce clean, readable pages within two to three months. Reaching the level of a professional copyist or engraver takes years, but the standard needed for classroom work, lead sheets, and small ensemble parts is reachable much sooner.
What is the difference between music drawing and music transcription?
Music drawing is the general act of writing notation. Music transcription is a specific kind of music drawing in which the source is a recording, a performance, or an aural model rather than a written draft. Transcription requires good ears; music drawing in general only requires good hand and eye control.
Do organists need special music drawing skills?
Organists do not draw music differently from other instrumentalists, but they often need to read and copy three-staff scores (two manuals plus pedal) that demand careful stem direction and clean pedal lines. The same notational rules apply, just with more lines to balance on the page.
Can children learn music drawing?
Yes. Many teachers introduce notation through drawing, with color-coded note heads and large staves. As the child’s hand control improves, the scaffolding drops away and the page takes on a more standard look. The skill transfers directly into later instrumental study.
What is the most common beginner mistake in music drawing?
Most beginners crowd their pages. They try to fit too many notes into a system, leave too little white space around the barline, and end up with a page that looks busy even when the music is simple. Leaving more space than you think you need is almost always the right choice.